Toggle navigation
eryq.org
About
Galleries
All artwork
Favorites
By medium
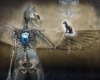
Digital collage
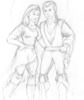
Drawing
Painting
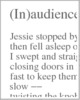
Poetry
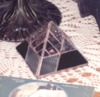
Sculpture
Stained glass
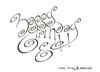
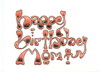
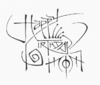
Word art
By subject
Anatomy
Birthday cards
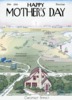
Mother’s Day cards
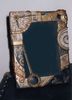
Picture frames
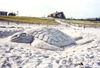
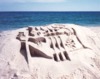
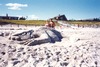
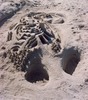
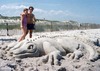
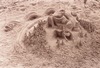
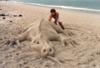
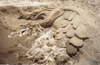
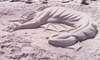
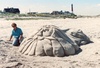
Sand sculpture
Rebecca’s Coloring Book
June 2007
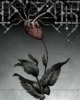
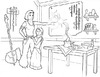
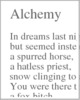
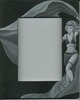
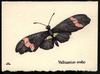
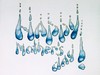
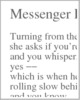
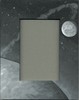
Materials:
plundered sketchbook, flights of fancy
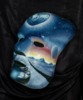
Drawing
All artwork
Inspiration
~
Technique
Fatal error
: Call to undefined method EqHTML::navButton() in
/usr/home/eryq/public_html/eryq/php/drawSlides.php
on line
8